
Teaching a Horse to Lead has gotten complicated with all the ground handling methods flying around. As someone who has started several young horses from scratch and rehabbed older horses who never learned leading manners, I learned everything there is to know about teaching horses to lead. Today, I will share it all with you.
Why Leading Matters More Than You Think
Leading isn’t just about getting from point A to point B. It establishes the foundation of your entire relationship with your horse. A horse that leads well understands pressure and release, respects boundaries, and looks to you for direction—skills that transfer directly to work under saddle.
According to the American Association of Equine Practitioners, poor ground manners, including leading problems, are among the top causes of handler injuries. Taking time to teach proper leading pays dividends in safety.
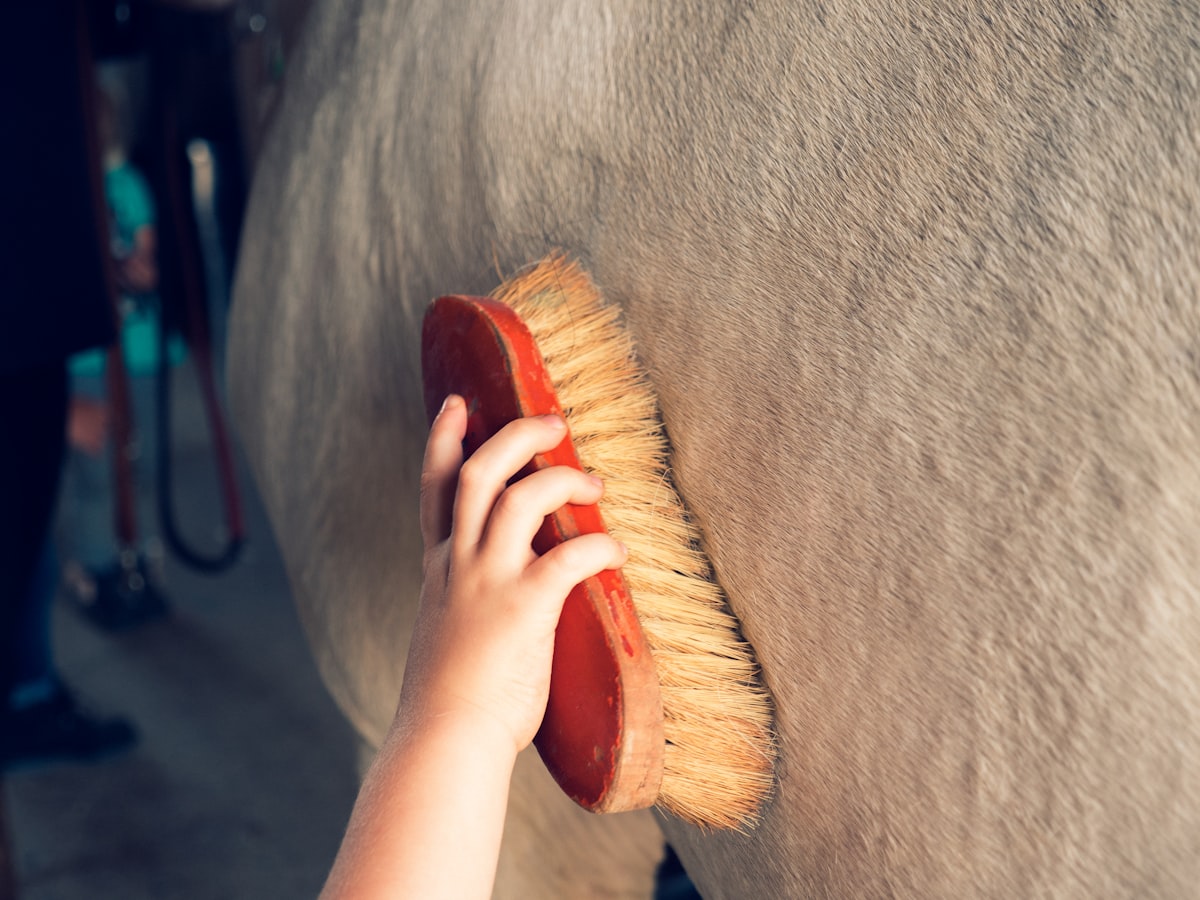
Equipment for Teaching Leading
Start with appropriate equipment that gives you clear communication and safe control.
Essential equipment:
- Well-fitted halter: Should rest two finger-widths below the cheekbone, snug but not tight
- Lead rope: 10-12 feet long with a sturdy snap, cotton or yacht rope for grip
- Gloves: Protect your hands from rope burns (leather or textured material)
- Safe space: Round pen, small paddock, or enclosed arena with good footing
Avoid chain shanks and other harsh equipment when teaching basics. These tools mask training problems and can create fear rather than understanding.
Probably should have led with this section, honestly.
The Foundation: Teaching Pressure and Release
Before your horse can lead, they must understand that pressure means “move” and the release of pressure is the reward for moving correctly.

Teaching forward from pressure:
- Stand beside your horse’s shoulder, facing forward
- Apply gentle, steady pressure forward on the lead rope
- Wait—don’t pull harder or jerk, just maintain consistent pressure
- The instant your horse shifts weight forward or takes a step, release all pressure
- Praise and allow a moment of rest
- Repeat until your horse steps forward promptly from light pressure
The Kentucky Equine Research notes that horses learn primarily from the release of pressure, not the application. Your timing of release teaches your horse what behavior you want.
Proper Handler Positioning
Where you stand matters enormously. Proper position keeps you safe and communicates clearly.
Correct leading position:
- Stand at your horse’s shoulder, on their left side (traditionally)
- Face forward, walking in the same direction as your horse
- Hold the lead about 8-12 inches from the halter with your right hand
- Coil or fold excess rope in your left hand—never wrap it around your hand
- Keep your body even with or slightly ahead of your horse’s eye
Why positioning matters:
- Standing too far ahead invites the horse to lag behind
- Standing too far back puts you in the kick zone and behind their vision
- Walking at the shoulder keeps you visible and in control
Teaching the Walk-On
The “walk-on” cue should get your horse moving forward immediately and willingly.
Method:
- Stand in proper position at the shoulder
- Look where you’re going and focus your energy forward
- Say “walk on” (or your chosen verbal cue) clearly
- Begin walking forward yourself
- If your horse doesn’t follow, apply light lead rope pressure
- Release instantly when they step forward
- If they pass you, ask them to slow or stop
Practice until your horse steps off the moment you move, with minimal or no rope pressure needed.
Teaching the Stop
A horse that stops promptly when you stop is safe and responsive. This is non-negotiable for good leading.
Method:
- While walking, say “whoa” (or your chosen cue)
- Stop your own feet completely
- Apply backward pressure on the lead rope if needed
- Release when your horse stops
- Ask your horse to stand for a few seconds before moving on
Common problem: Horse walks past you when you stop
Solution: Don’t step backward to accommodate them. Hold your ground, back them up to proper position, and practice more halts.
Teaching the Back-Up
Backing teaches your horse to yield to pressure and respect your space. Every horse should back readily on cue.
Method:
- Face your horse, standing in front of their chest (but off to one side for safety)
- Apply backward pressure on the lead rope
- If needed, wiggle the rope or tap their chest lightly with your hand
- Release the instant they shift weight backward or take a step back
- Build to multiple steps, always releasing for the try
Once the back-up is established, practice it from the leading position—backing your horse while you remain beside their shoulder.
Establishing Personal Space
A horse that crowds you, pushes into you, or won’t maintain respectful distance is dangerous. Clear boundaries protect you.

Creating a bubble:
- Imagine a 3-foot bubble around you that your horse may not enter without invitation
- When your horse crowds you, immediately back them out of your space
- Be consistent—every single time they crowd, they move back
- Reward them for maintaining proper distance with relaxation and praise
The Purdue University Extension emphasizes that consistent boundaries create safer horses. Horses that respect space on the ground typically respect space under saddle as well.
Turns and Changes of Direction
Smooth turns require your horse to follow your lead without cutting corners or swinging wide.
Turning away from you (right turn when leading from left):
- Walk forward and begin your turn
- Your horse should arc around you, maintaining proper distance
- If they cut in, use the lead rope to push their head away while continuing the turn
Turning toward you (left turn when leading from left):
- Slow your steps and use the lead rope to tip your horse’s nose toward you
- You may need to step toward their shoulder to encourage them to move their hindquarters around
- Keep moving through the turn rather than stopping
Common Leading Problems and Solutions
Problem: Horse won’t move forward
- Apply steady pressure—don’t pull harder, just wait
- If truly stuck, move their hindquarters first to unstick their feet
- Consider having a helper encourage from behind (but not chasing)
- Check for fear or pain that might be causing reluctance
Problem: Horse walks too fast/passes you
- Stop and back them up several steps every time they pass
- Repeat consistently until they learn that rushing means more work
- Consider working in a smaller space where they have less room to rush
Problem: Horse won’t stand still
- Practice frequent stops, asking them to stand before releasing
- Put them to work (circles, backing) every time they move without permission
- Gradually increase standing duration
Problem: Horse pulls away or spooks
- Work on desensitization separately (see our desensitization article)
- Practice “giving to pressure” exercises so pulling triggers yielding, not fighting
- Start in familiar, low-stimulus environments
Building to Advanced Leading Skills
Once basics are solid, expand your horse’s skills:
Leading at different speeds: Practice walking slowly, walking briskly, and eventually trotting in hand. Your horse should match your speed.
Ground tying: Teach your horse to stand in place when you drop the lead rope. Build duration gradually.
Leading from both sides: Horses should lead equally well from both sides. Practice both regularly.
Leading past distractions: Practice leading past other horses, open gates, feed rooms, and other temptations. Your horse should stay focused on you.
Safety Reminders
Leading seems simple but involves a 1,000+ pound animal. Stay safe:
- Always wear closed-toe shoes with hard soles
- Never wrap the lead rope around your hand, wrist, or body
- Stay out of the kick zone (directly behind or at an angle behind)
- If your horse panics, let go of the rope rather than being dragged
- Don’t lead with a chain under the chin unless you have professional guidance
Practice Makes Partnership
Leading well should become second nature for both you and your horse. Practice every single time you handle your horse—from pasture to barn, barn to arena, arena to trailer. Every interaction is a training opportunity.
A horse that leads with respect, attention, and willingness is a joy to handle. The time you invest in these fundamentals creates a foundation that supports everything else you’ll ever do together.
Sources: American Association of Equine Practitioners, Kentucky Equine Research, Purdue University Extension


Leave a Reply